Export Print-Ready Files from Customizer and Designer

From Design to Production
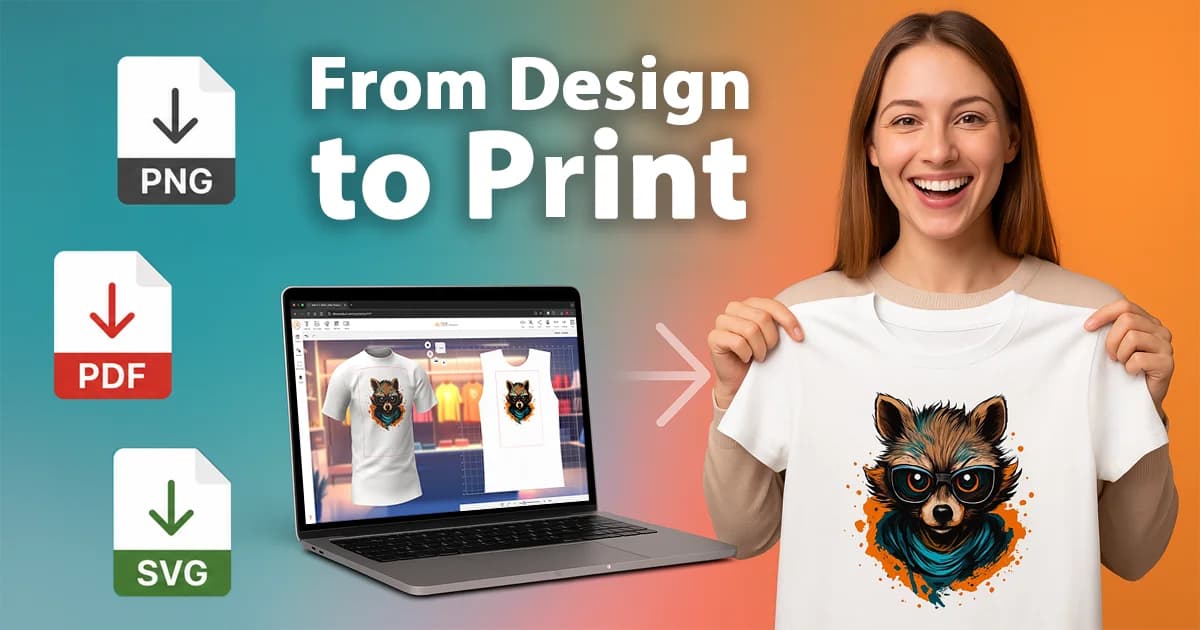
Turn virtual ideas into real products. With Alter Product, you can print both customer orders created in the Customizer and your own projects prepared in the Designer. Everything happens in one connected flow: prepare → customize → export → print.
This post shows how you can move from a creative idea to a production-ready file using the built-in layer export tools in Alter Product.
Designer and Customizer - A Perfect Match
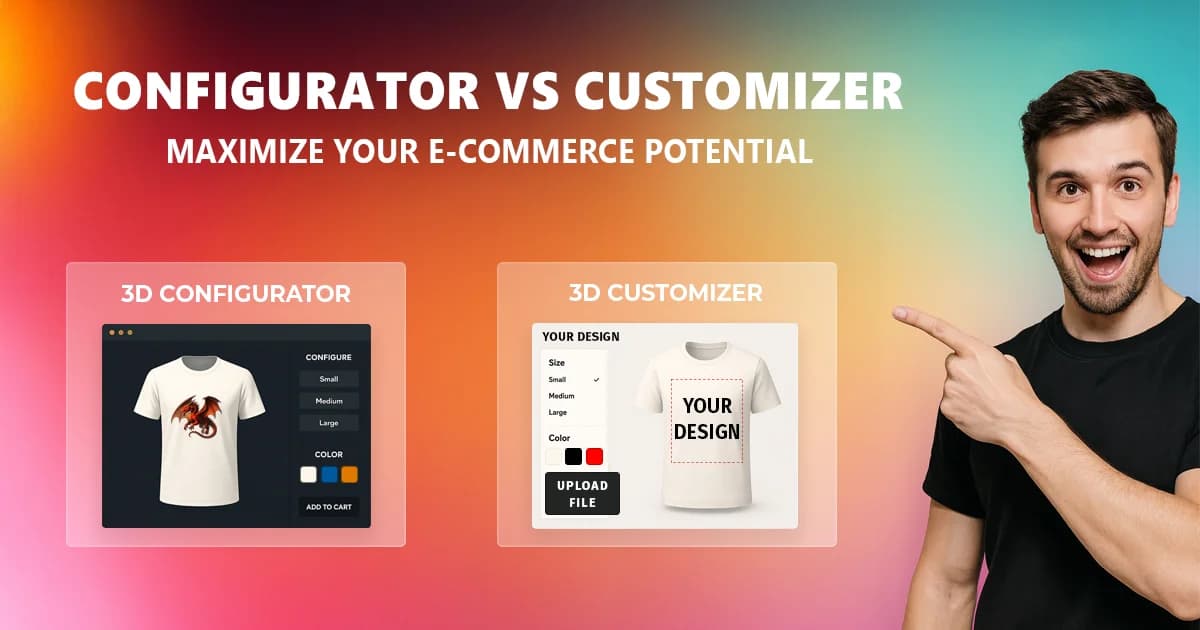
The Designer is your production setup workspace. It is where you define the product structure: variants, materials, print methods, colors, prices, print areas and ready-made templates.
Once the product setup is complete, you can activate the Customizer, where customers personalize products in 2D or 3D. The Customizer uses the print areas, variants and design rules prepared in the Designer, so the production workflow stays consistent from setup to order fulfillment.
- Designer - create, configure and prepare the product for production.
- Customizer - let customers personalize products in real time.
- Export - download print-ready files from selected print areas and layers.
Both internal projects and customer orders can lead to the same result: a production-ready file prepared for your printing workflow.
Export Print-Ready Files in PNG, SVG or PDF
Alter Product now supports multiple export formats, so you can choose the best file type for your production process, print provider or post-processing software.
| Format | Best for | Notes |
|---|---|---|
| PNG | High-resolution raster printing, transparent backgrounds, DTG, DTF, sublimation and UV workflows. | Great for direct print workflows and RIP software that expects bitmap artwork. |
| SVG | Vector-friendly workflows, logos, shapes, text-based designs and scalable artwork. | Keeps vector information where possible. Useful for workflows that need clean, scalable graphics. |
| Print shops, production exchange, archiving and workflows that prefer document-based files. | Convenient when you need a portable print file that can be opened in common production tools. |
This means you are no longer limited to a single raster export. You can use PNG for transparent high-resolution output, SVG for vector-oriented production and PDF for print-ready file exchange.
How to Export Print-Ready Files
Whether you are printing your own design or fulfilling a customer order, exporting is handled from the layer export manager.
- Open the project, template or customer order you want to print.
- Go to the Layers panel.
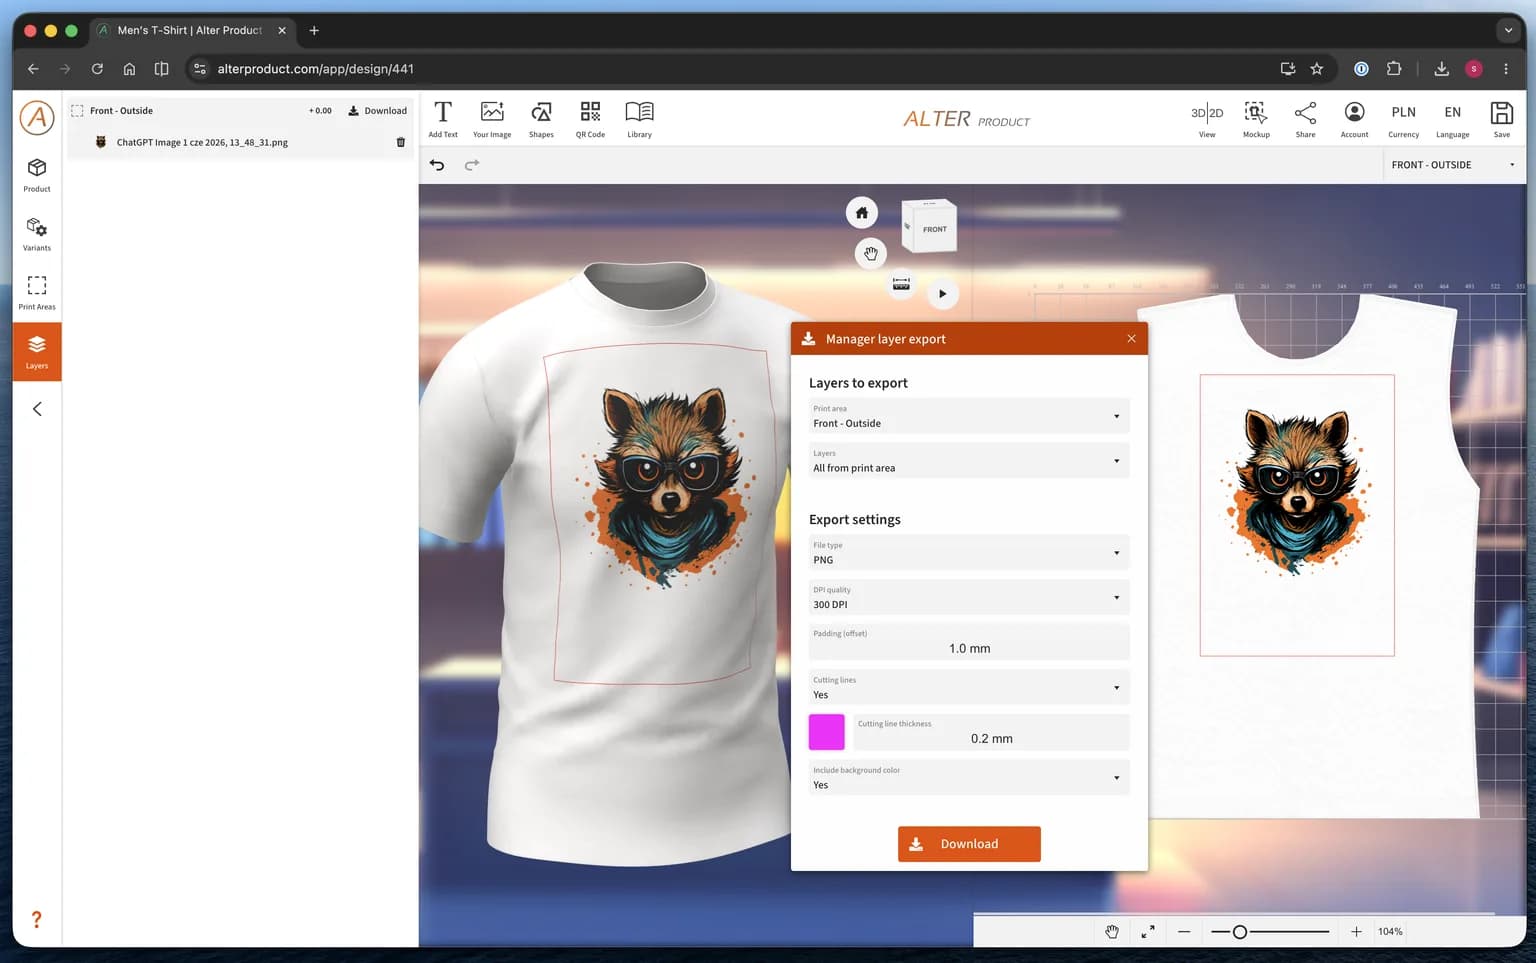
- Click Download to open the Manager layer export window.
- Select the print area you want to export.
- Choose whether to export all layers from the print area or only selected layers.
- Select the file type: PNG, SVG or PDF.
- Set the DPI quality, padding, cutting lines and background options.
- Click Download to generate your production file.
Export Settings Explained
Print Area
Select the exact print area you want to export, such as the outside front, back, sleeve, label or any custom print area configured in the Designer. You can also export enabled print areas depending on the project setup.
Layers
Choose whether you want to export all layers from the print area or only the selected layers. This is useful when you need separate production files, partial artwork, masks, technical marks or isolated design elements.
File Type
Select PNG, SVG or PDF depending on the next step in your workflow. PNG is ideal for direct raster printing, SVG is useful for scalable vector-oriented output, and PDF is convenient for production exchange and print shop workflows.
DPI Quality
Choose the output quality, including common production settings such as 72 DPI, 150 DPI, 200 DPI and 300 DPI. For most print-ready files, 300 DPI is the safest choice.
Padding Offset
Add padding around the exported artwork, for example 2.0 mm. This helps create production-safe spacing around the design and can be useful for cutting, transfer preparation or print workflows that require extra margin.
Cutting Lines
You can add cutting lines directly to the export. This is useful for DTF transfers, stickers, labels, decals and workflows where the operator needs a clear technical outline around the artwork.
Cutting Line Thickness and Color
Define the cutting line thickness, such as 0.2 mm, and choose a visible line color. This makes technical lines easier to identify in production software or during manual review.
Include Background Color
Choose whether the export should include the configured background color. Disable it when you need transparent artwork, or enable it when the background is part of the final production file.
Printing Methods - One Export Manager, Many Possibilities
Sublimation
Perfect for mugs, bottles and polyester textiles. Export high-resolution artwork with accurate proportions and use padding when the design needs extra production-safe space around the print area.
DTG (Direct-to-Garment)
Ideal for cotton apparel. PNG exports with transparent backgrounds work well for DTG workflows. Use your DTG software to handle white underbase, color management and final print settings.
DTF (Direct-to-Film)
Flexible and versatile for short runs. Export PNG, SVG or PDF depending on your production software. Cutting lines and offset settings can help prepare transfer files more clearly.
UV Printing
Useful for rigid materials like glass, metal, acrylic or plastic. Export the selected print area and use the file format preferred by your UV workflow. PDF can be convenient for production exchange, while PNG remains useful for raster-based printing.
Stickers, Labels and Decals
For stickers and labels, SVG or PDF can be useful when you need clean scalable artwork. Cutting lines, line thickness and padding offset help prepare files for cutting or finishing.
Screen Printing and Other Methods
For screen printing, heat transfer or specialist workflows, use the exported file as the production base and handle separations, trapping, color channels or RIP-specific settings inside your own software.
Pro Tips for Better Production Files
- Keep logos, text and important elements away from print area edges.
- Use 300 DPI for production-ready raster exports whenever possible.
- Use PNG when you need transparent high-resolution bitmap output.
- Use SVG when the design should stay scalable and vector-friendly.
- Use PDF when sharing files with print shops or production partners.
- Add padding offset when your workflow needs extra space around the artwork.
- Enable cutting lines only when they are required by the production process.
- Run a test print before full production to confirm scale, alignment and colors.
Preview Before You Print
Before exporting, use the built-in 3D preview to verify placement, proportions and alignment on the product. You can also generate fast mockups for available color combinations, so you can quickly preview how the same design looks across product variants.
These mockups are useful for visual checks, customer approval, product pages and marketing materials before moving the design into production.
When the file is ready, go to Layers → Download, choose your export settings and download a production-ready PNG, SVG or PDF.
Summary
The Designer defines the product and print areas. The Customizer lets customers create personalized designs. The export manager turns those designs into production files.
With Alter Product, every personalized project can become a real product with print-ready PNG, SVG or PDF export.