Choose a resource for the tool you are using
Resource library and your own assets
Alter Product libraries help you prepare a model, design a print, and present the finished product to customers. In Generator, choose a starting pattern, texture, or mannequin; in Designer and Customizer, use images, icons, and print templates; in Configurator and Viewer, present the product with your chosen background and brand identity. Below you will find where to select ready-made resources and add your own assets in the app and the WordPress plugin.
The screenshots show the English interface of the WordPress plugin. Menu paths in the descriptions use the language of this guide.
Product Generator
Resources for building and presenting a model
Here you work on the product itself: its construction, material appearance, and placement in the scene. Ready-made resources help you get started faster, while your own images and settings let you refine a collection. Save the model project to keep the materials you have used and return to editing later.
Model templates, mannequins, and your own projects
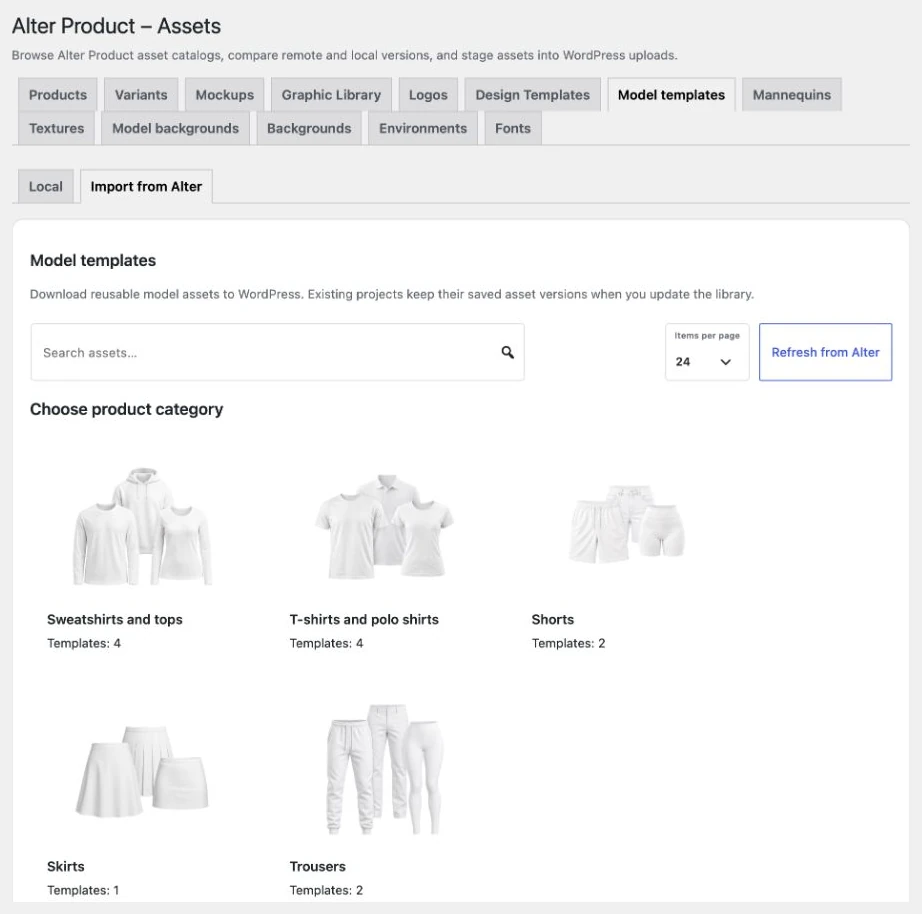
A model template provides a starting point for constructing a product, such as a garment with a specific cut. In the wizard, select a category and starting pattern, then develop it in Generator. Mannequins and simulation objects help you assess how the fabric drapes and check proportions. Find your own projects under Your 3D Models, where you can reopen them for editing.
- In the app
Open 3D Model Wizard → Product category → Starting pattern. In the editor, use Mannequin → Select mannequin to choose an object to work with your model.
- In WordPress
In Alter Product → Resources, open Model templates or Mannequins, go to Import from Alter, and download the entry you need to your local library.
- Your own assets
Develop and save your own model in Generator. You can also add reference images for construction, calibrate their scale, and assign them to pattern pieces in the 2D view.
Textures and images used in materials
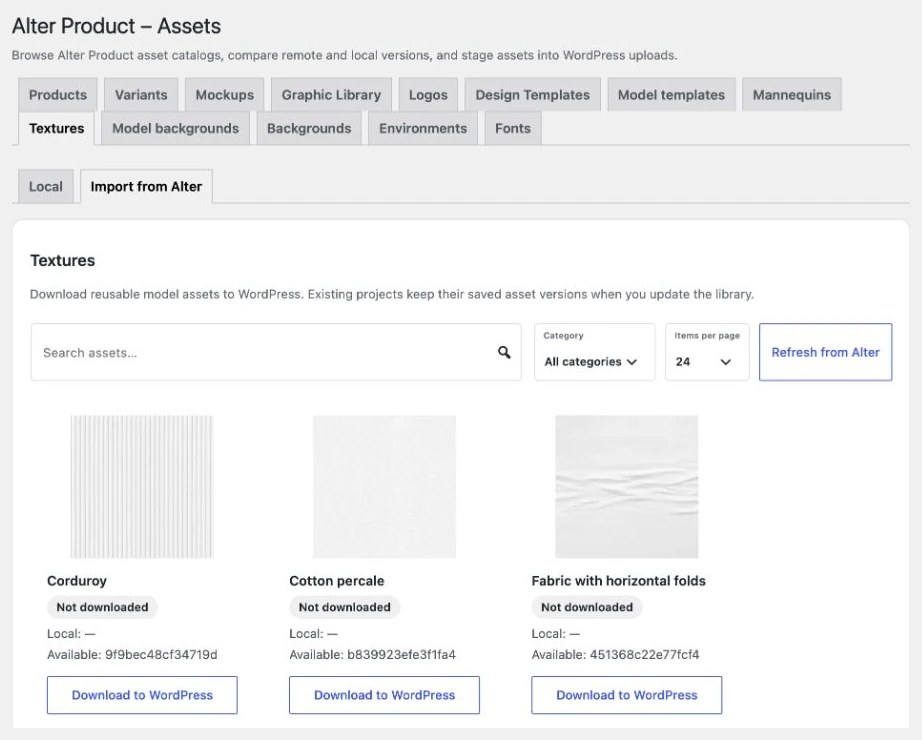
A texture describes the appearance of a surface: its color, weave, sheen, or other material properties visible on the model. In the library, search for an image by name and narrow the results by category and map type. Drag the selected resource onto the appropriate map slot of a layer to use it in your project.
- In the app
In the Model Inspector, open Textures → Texture library. Add your own file to the current project through Images → Used images → Add image.
- In WordPress
Download ready-made entries through Resources → Textures → Import from Alter. In the embedded Generator's texture library, the store administrator can select Add texture to create a local resource.
- Your own assets
When adding a texture to the library, enter a name, category, and map type. Save images added to a project together with the model; creating a library entry is a separate action.
Simulation materials and product accessories
Set fabric appearance and simulation behavior separately. Material presets help you select physical parameters, and you can create a custom material based on the active settings and assign it to pattern pieces. The accessories library contains items such as buttons, hook-and-eye fasteners, eyelets, cords, snap fasteners, hook-and-loop fasteners, and zippers.
- In the app
Open Patterns → Material → Presets or Custom materials, choose settings, and assign them to pattern pieces. Find accessories under Model Inspector → Accessories.
- Your own assets
Change the settings of your custom material in the project and save the model. If you need a decorative vector on a UV pattern piece, you can also use Model Inspector → Vectors → Iconify.
Mockup backgrounds and your own photos
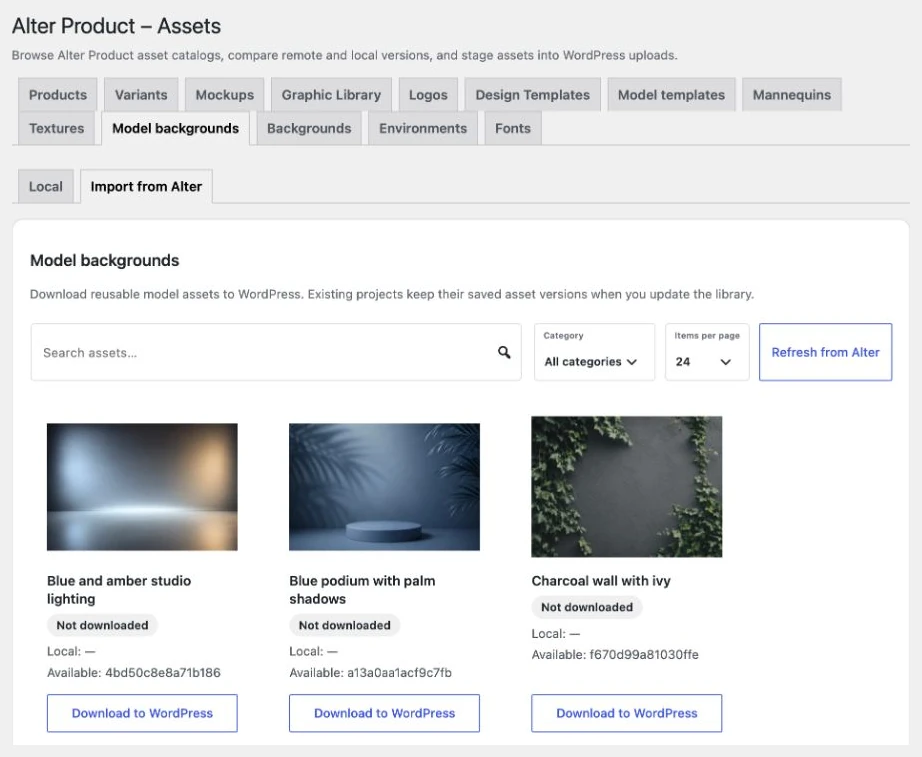
A mockup background lets you present a model in a studio, interior, or outdoor setting without building the entire surroundings from scratch. The background library has search and categories to help you choose an image that suits the collection. Drag a background onto the scene or the Custom image slot, then refine the product view.
- In the app
In Generator, go to Mockup → Backgrounds and choose an image from the library. The Custom image option lets you use your own file for the view you are preparing.
- In WordPress
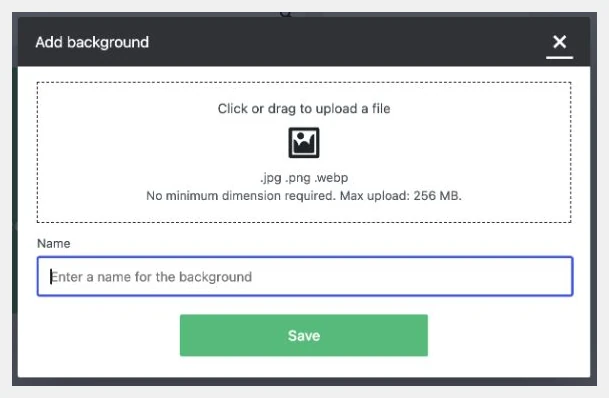
Download ready-made images through Resources → Model backgrounds → Import from Alter. In the embedded Generator's Background library, an administrator can also use Add background, enter a name, and select a category.
Designer + Customizer
Assets for prints and personalization
Designer lets you prepare a composition on a product. Customizer lets customers edit the print and choose from prepared assets. Individual images are useful across many compositions, while templates let you start personalization from a ready-made layout. In the embedded Customizer, check the result from the customer's perspective using the product linked to the design.
Your own images, illustrations, and print motifs
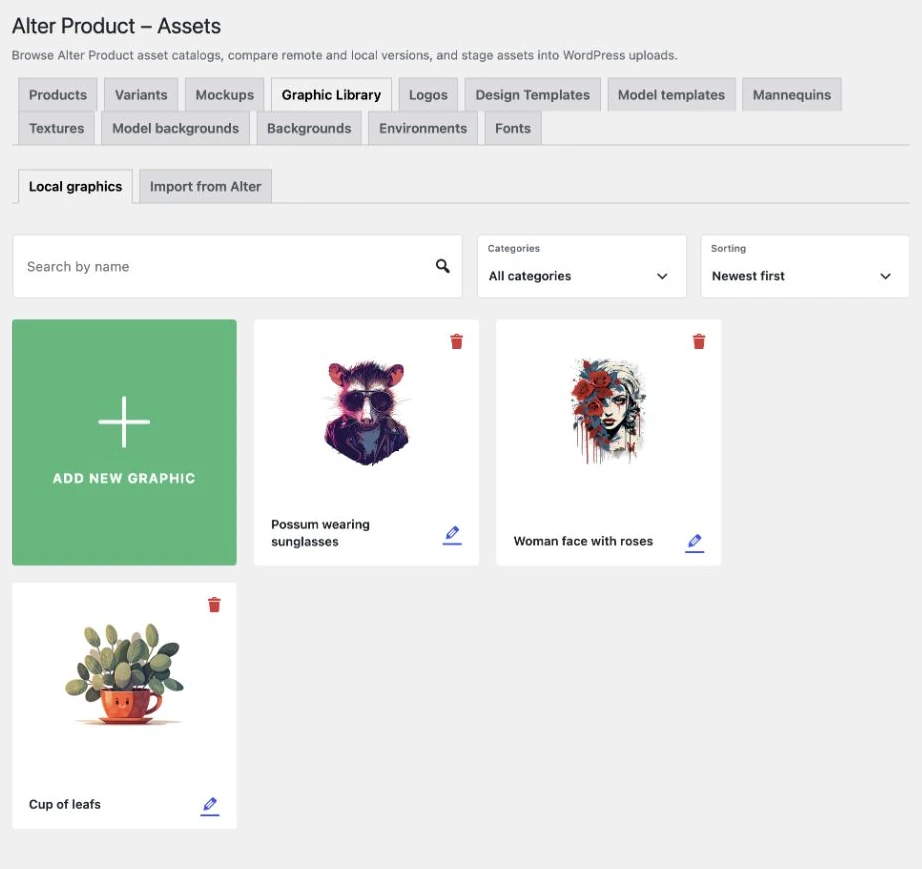
The image library is a place for motifs you want to reuse: illustrations, symbols, patterns, or logos intended for printing. In Designer and Customizer, browse them by name and category, then add the selected image to the print area. You can also use it to replace a selected image in an existing composition.
- In the app
In the dashboard, open Library → Image Library → Add New Image. Upload a JPG/JPEG, PNG, WebP, or SVG, enter a name, assign available categories, and select Save.
- In WordPress
Open Resources → Image library → Local images → Add new image. Select categories or create a new one through Create category → Add, then save the entry.
- Your own assets
Add a file needed only for the current composition through Designer → Your image, or drag it onto the workspace. This image is saved in the project; add a separate library entry in the dashboard.
Layout templates and saved designs
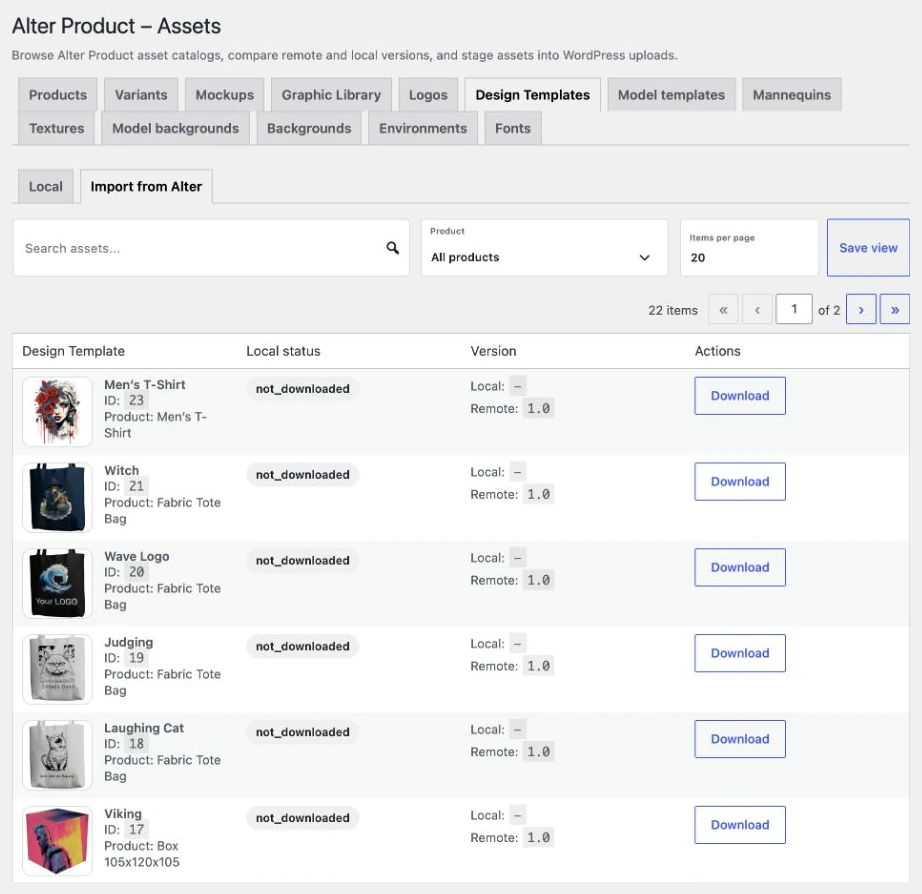
A design template stores a ready-made composition of editable layers for a compatible product. It can contain text, images, and their positions, so the next personalization starts from a prepared layout. In the library, choose Design templates and click LOAD to use the composition. Your Designs is where you return to specific saved works that you can continue developing.
- In the app
As the project owner, open Designer → Save → Save as new template (library). Manage its name, categories, and thumbnail later in the Design Template Library.
- In WordPress
Download ready-made templates through Resources → Design templates → Import from Alter. A template saved from the local WordPress editor goes into the local library used by the embedded Customizer.
Icons and fonts for compositions
The Iconify library complements your own images with searchable icons that you can adapt to a composition. Find a symbol, use the icon group filter, and add the selected item to the project. When editing text, choose a font that suits the print's style and the alphabet you use.
- In the app
Select icons through Designer → Library → Iconify. To change a font, select a text layer and open the font selector in the text tools.
- In WordPress
Under Resources → Fonts, use Refresh font list, then Enable or Disable selected entries. This prepares the list available in the embedded editor.
Mockups showing prints on products
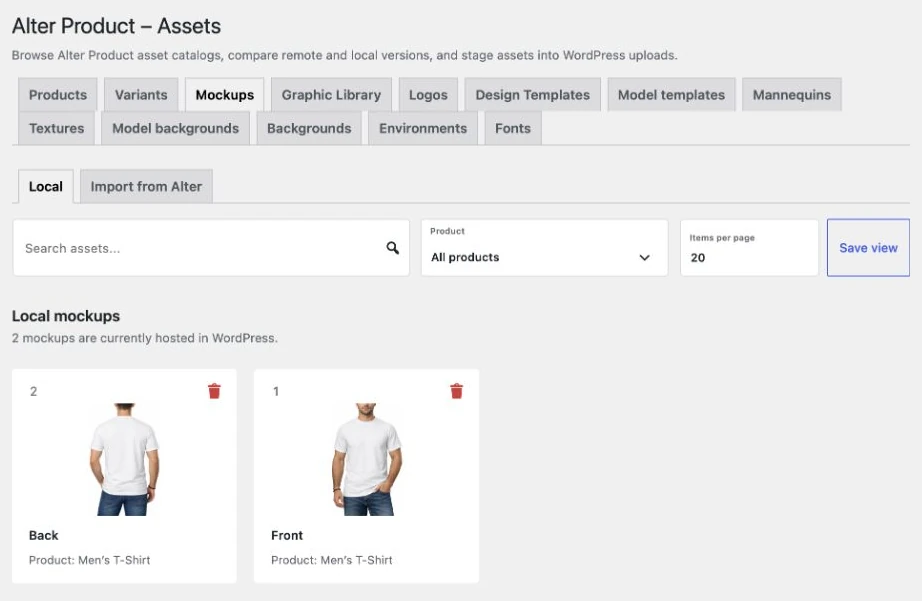
A mockup helps you assess and present a composition in the context of a product. Use available mockups that match your selected base to prepare a preview with the current print. This is a separate presentation resource alongside the images and layer templates used for editing.
- In the app
Open the mockup tools for the project you are preparing and select an available product presentation variant. Check the print and its placement in the generated preview.
- In WordPress
Go to Resources → Mockups → Import from Alter. Use the product filter, download a matching entry, and use it with projects prepared on that base.
Configurator + Viewer
Product, selection options, and your brand's appearance
Viewer presents a finished product. Configurator lets customers select options prepared earlier in the project. In both cases, the store owner chooses the library and visual presentation, and customers use the prepared result. Interface backgrounds and logos are also used in Customizer, so the tools on your site can have a consistent appearance.
The product base and its variants
The product model is the foundation of the design you later present on your site. In Designer, prepare the appearance and available variants; Configurator shows customers the resulting options. Downloading a resource into the WordPress library is one preparation step; linking the design to a WooCommerce product is configured separately.
- In the app
In the project wizard, select a product base. Prepare the options for Configurator in Designer's Variants section and save the project before checking the presentation.
- In WordPress
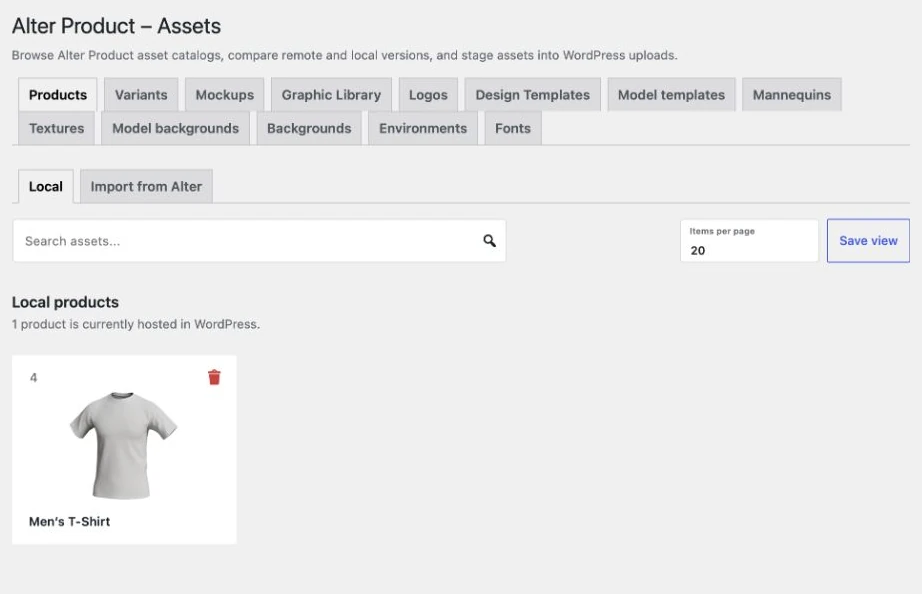
Download bases under Resources → Products → Import from Alter. Under Resources → Variants → Materials or Printing methods, you can upload or replace an entry's preview.
Your own interface background and brand colors
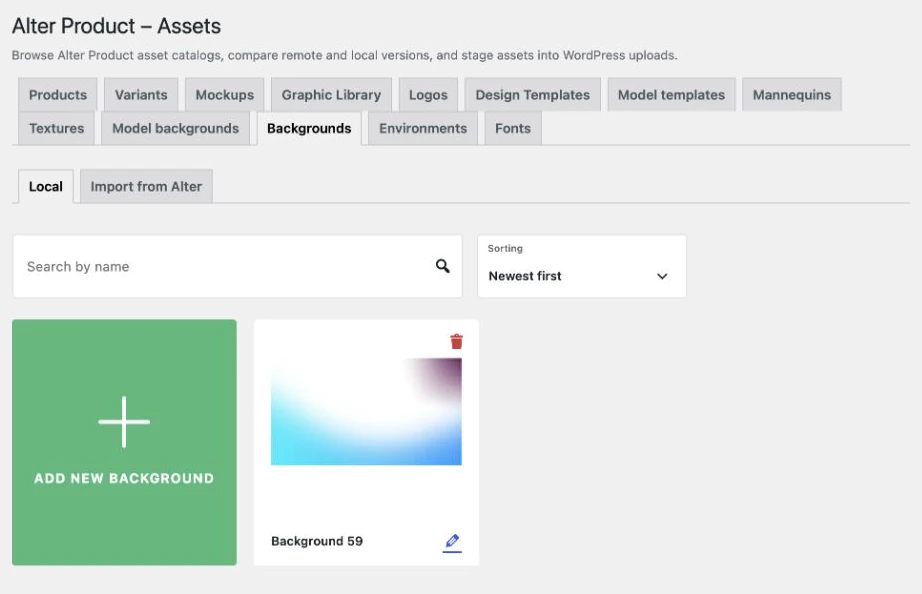
The background behind a product helps the embedded tool match your store or campaign. Choose an image, solid color, or gradient, and adjust image brightness and blur to keep the product clearly visible. Custom interface colors are also available in the local WordPress embedding settings. These settings control the tool's appearance, so add artwork intended for the product's surface separately as a print.
- In the app
In Designer, open Settings → Background style. In standalone Configurator or Viewer, use menu → Scene as the project owner. Choose an image, color, or gradient; outside an embed, you can also upload your own image.
- In WordPress
Go to Resources → Backgrounds → Local → Add new background. Upload a JPG/JPEG, PNG, or WebP, name it, and save it, then select the background in the embedded editor's settings.
Horizontal and square logos
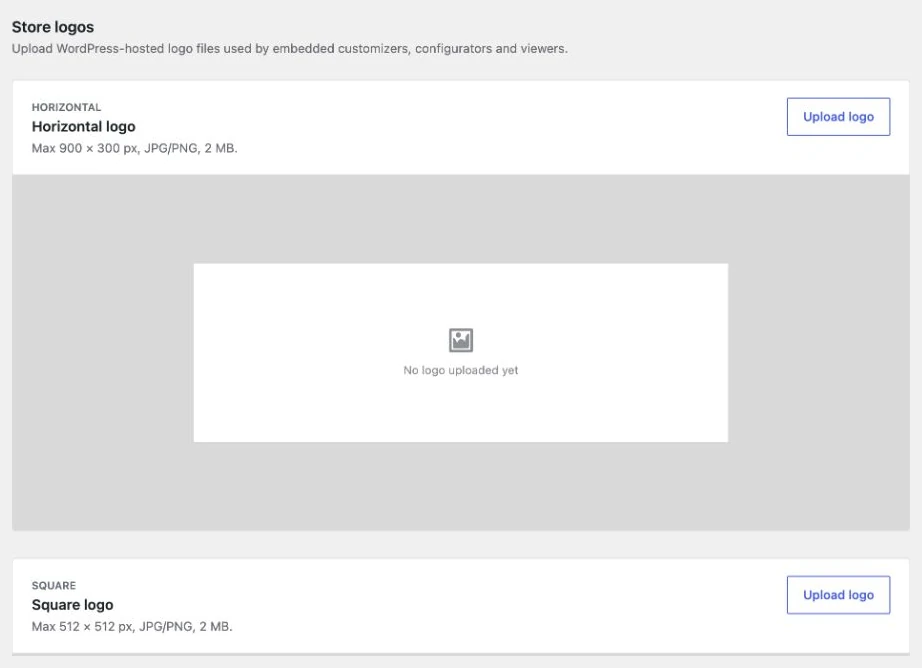
Your own logo identifies your store's brand in embedded tools. Prepare horizontal and square versions to fit the available display areas. In the plugin, locally stored logos are used by Customizer, Configurator, and Viewer. If the same logo should also appear in the print, add a separate copy to the Image library or directly to the composition.
- In the app
Go to E-commerce Settings → Branding, upload the appropriate logo versions, and save your visual identity settings.
- In WordPress
Open Resources → Logos. Next to Horizontal or Square, select Upload logo, add a JPG/PNG file, and save. Use Edit logo for later changes.
3D environments and product lighting
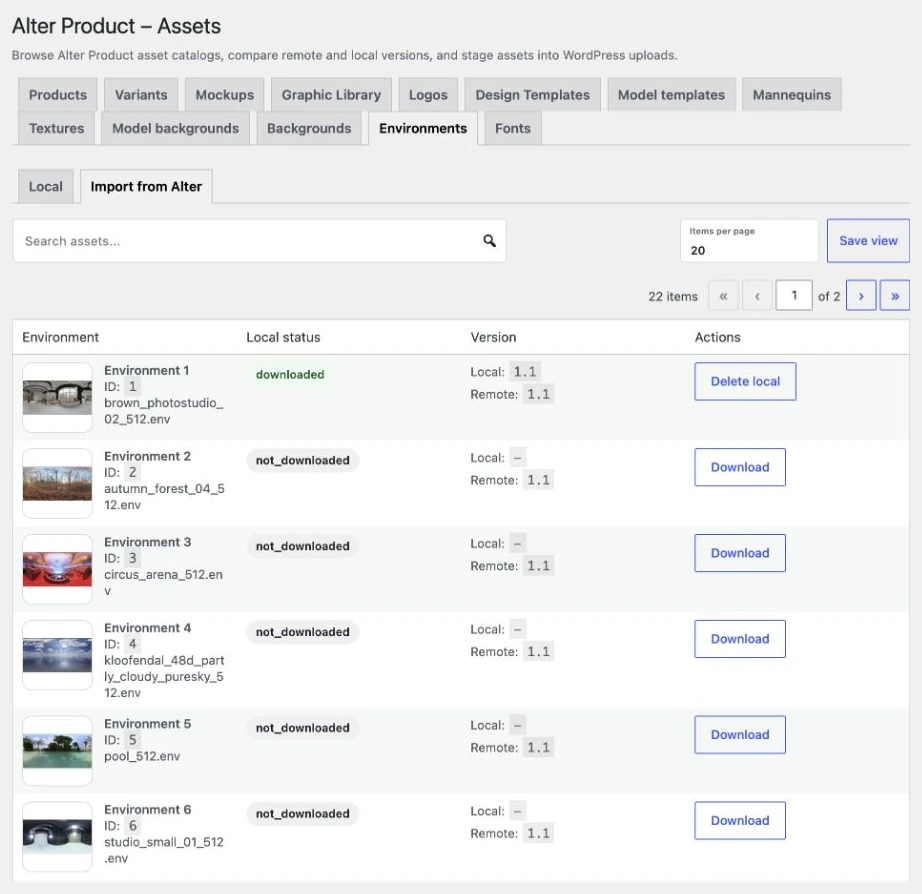
An environment affects the lighting and reflections visible on the model, helping you show the product's sheen, texture, and shape. Match it to the presentation's character, then assess the effect together with the material and camera position. The environment library is also used by Generator.
- In the app
In the owner's tools, open menu → Scene and select a scene or environment to present the product. Check the available lighting settings and the model's surface appearance.
- In WordPress
Go to Resources → Environments → Import from Alter and download your chosen entry. The local tab shows stored resources; there is no form here for uploading your own HDR/HDRI file.
A shared workflow for resources
From the Alter Product catalog to your site's library
The Alter Product → Resources panel brings together the libraries needed by tools embedded on your site. It contains ready-made assets to download and local entries stored in WordPress. Available actions depend on the resource type: images and backgrounds have add forms, logos have dedicated fields, and fonts have a list with availability toggles.
1. Choose the source and resource type you need
Start with the tab for the asset you are looking for. Import from Alter shows entries available to download, including available resources from your own store linked to your Alter Product account. The local view shows the collection stored on the WordPress site.
- In WordPress
Open Alter Product → Resources, select the asset type, then Import from Alter or the local view. Use this plugin library when preparing resources for Alter Product tools.
2. Download selected assets and check them in a project
Click Download next to the resource you need and wait for the import to finish. Then open the appropriate project and select the asset in the tool's library. For a store offering personalization, check in Customizer that customers can find the image and load a template compatible with the product. Adding assets to the library does not replace preparing a design or linking it to a WooCommerce product.
- In WordPress
After downloading, return to the local view. For your own files, use the form for the appropriate type; save composition templates from the editor, and add textures to the local library in Generator.
3. Organize your collection and update resources deliberately
Give images and templates recognizable names and categories so you can quickly find an asset for a collection later. Refreshing the catalog shows available entries and compares their versions; downloading files or choosing Update is a separate step. The Alter Product account library and the local WordPress library are managed separately. An image uploaded directly to WordPress goes into that site's collection, so do not treat this as automatically uploading it to your Alter Product account.
- In WordPress
In the image or template form, select categories or use Create category → Add. When the catalog indicates a new version of a downloaded resource, choose Update and check the result in the tool you use.